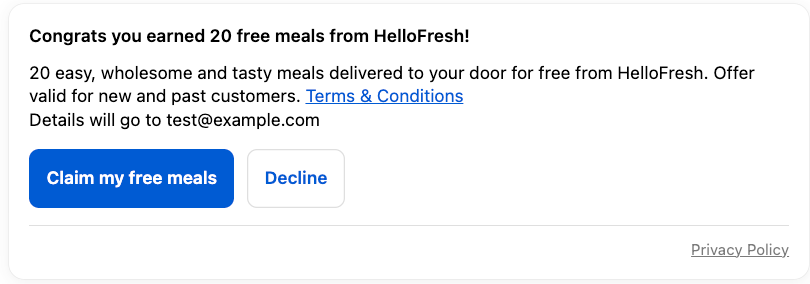
In order to generate additional revenue from Rokt Thanks on your Thank You page, Order Status page, and customer account pages, you must first set-up and enable Rokt Thanks from the Aftersell admin. To do so:
Navigate to the Rokt Thanks tab in the navigation menu.
Click “Get Started”
On the Your store step, pick your industry from the Your industry dropdown, then pick the matching sub-category from Your products/services. Both are required — Save & Continue stays disabled until each is set, and the second dropdown only becomes selectable once you have chosen an industry. If you do not see the exact industry or sub-category, choose the closest match.
Click “Save & Continue” to move onto the next step. There is no separate consent checkbox in this wizard — Rokt Thanks is covered by the terms you accepted when you first set up Aftersell. For reference, see our Terms and Conditions & Privacy Policy.
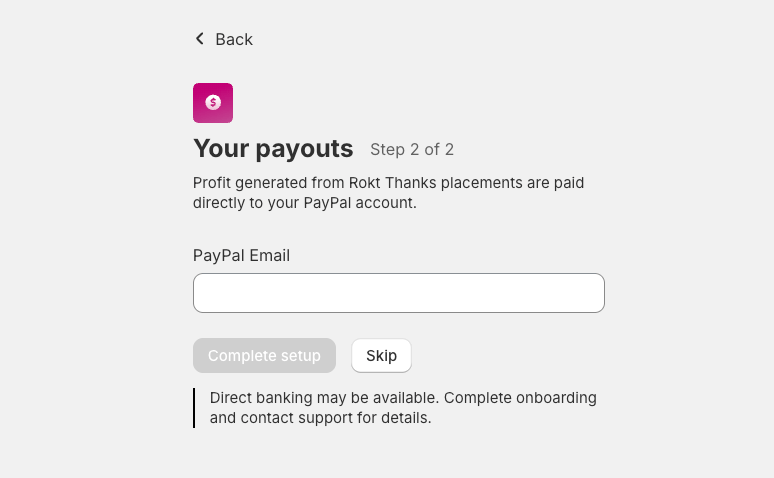
In order to get paid for your Rokt Thanks offers, you’ll need to provide a PayPal email address. If you do not have a PayPal account, you can still enter the email address that you wish to receive payments through, and PayPal will help you create an account once your first payment has been processed. Learn more about payouts here.
Afterwards, the app will show you a loading screen while we create your Rokt account and give you access to our Rokt Thanks feature. This does not enable Rokt Thanks on your store right away.
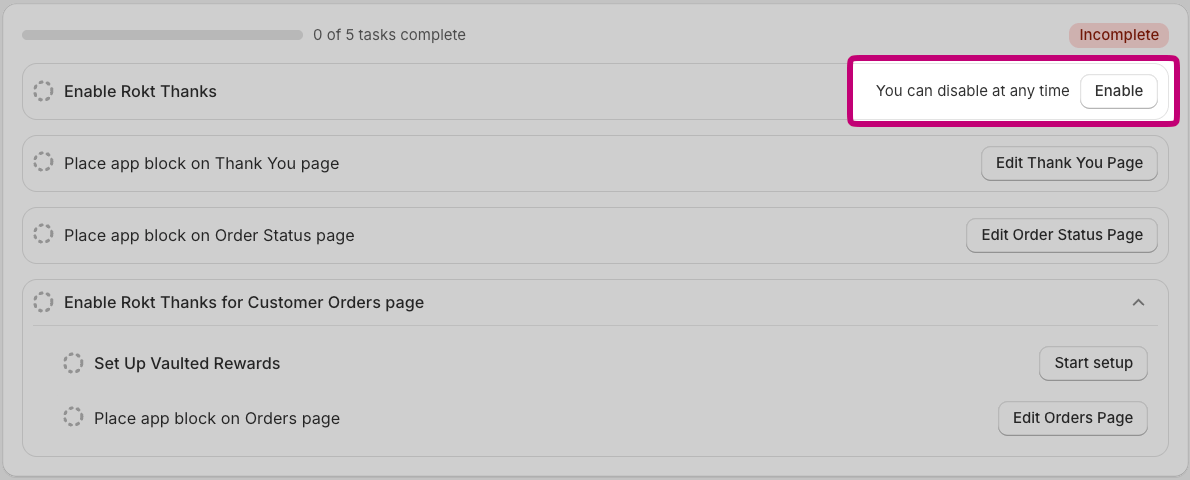
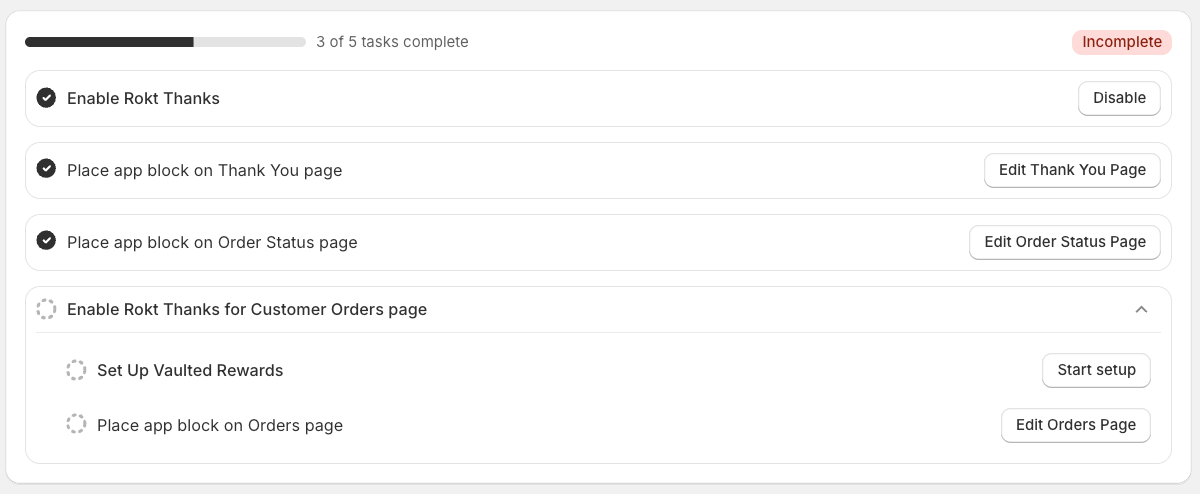
Once your account is created, enable Rokt Thanks by clicking the “Enable” button in the setup walkthrough.
NEXT: We’ll be placing the offers on your store.
App block placement
Rokt Thanks is built on Shopify’s Checkout Extensibility framework, requiring app block placement on Shopify pages for it to render. The app block we use for Rokt Network products is called the ‘Rokt Thanks’ block.
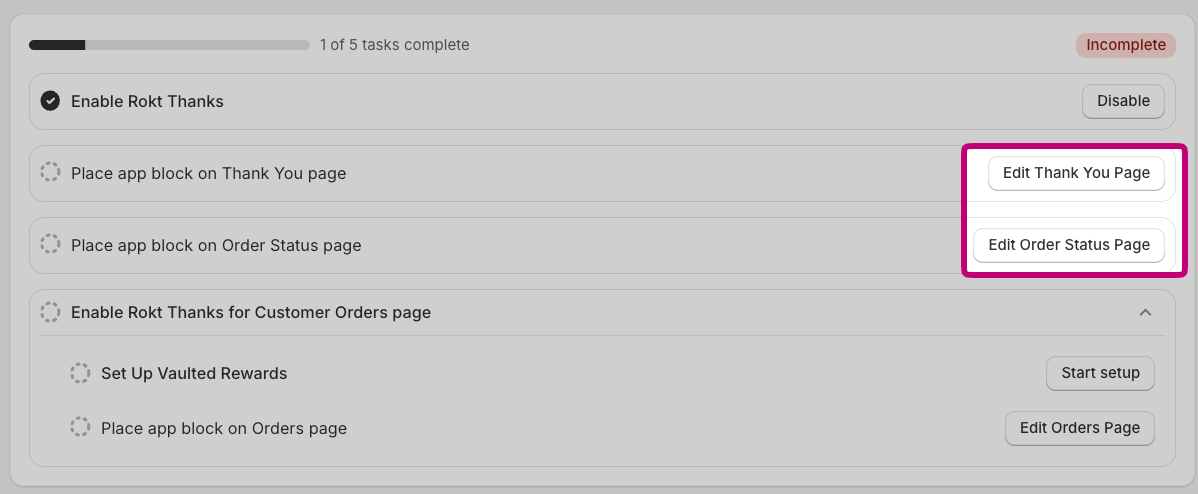
To place this block on your Thank You page and Order Status page, simply click on the ‘Edit Thank you page’ and ‘Edit Order status page’ buttons from the Rokt Thanks admin to be redirected to the Shopify Checkout Editor.
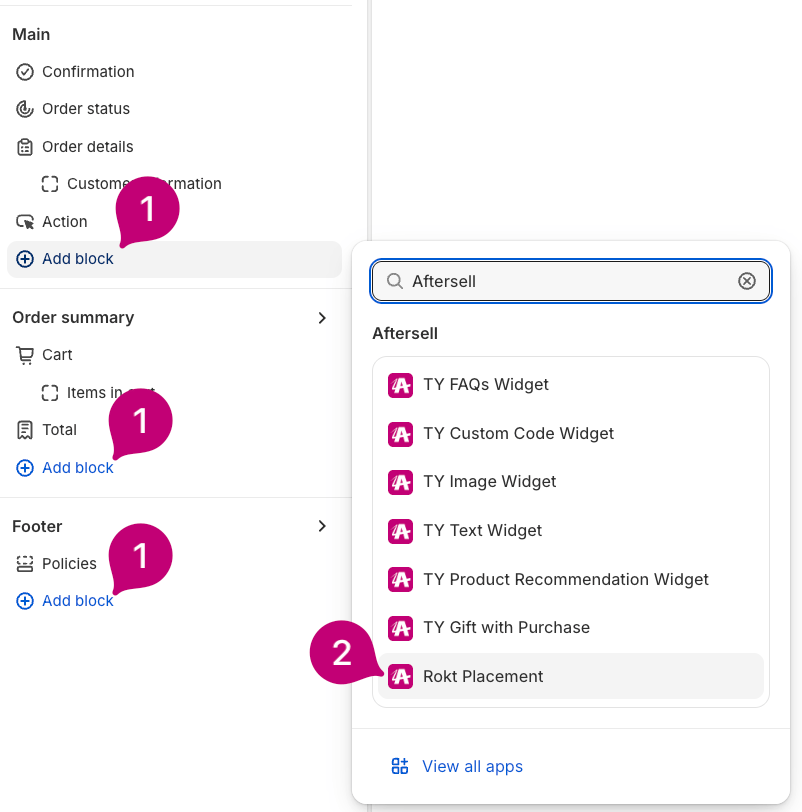
From there, in any of the sections on your page, click ‘Add block’ and select ‘Rokt Thanks’ from the list of Aftersell blocks.
Once placed, make sure to click “Save”.
When you navigate back to the Rokt Thanks admin, we will detect the block placement automatically and your task checklist will update. Please note that the setup will remain incomplete until the app blocks are saved successfully in the Shopify Checkout Editor.
Rokt Vaulted Rewards (Customer Account Pages)
Overview
Shopify has introduced a new generation of customer account pages - specifically the Profile and Orders pages - which support app blocks. If your store has migrated to these new account pages, you can now display Rokt Thanks ads in these placements, the same way they appear on your Thank You page.
This represents a meaningful incremental revenue opportunity, with an estimated 10-20% uplift on top of your current placements.
Requirements
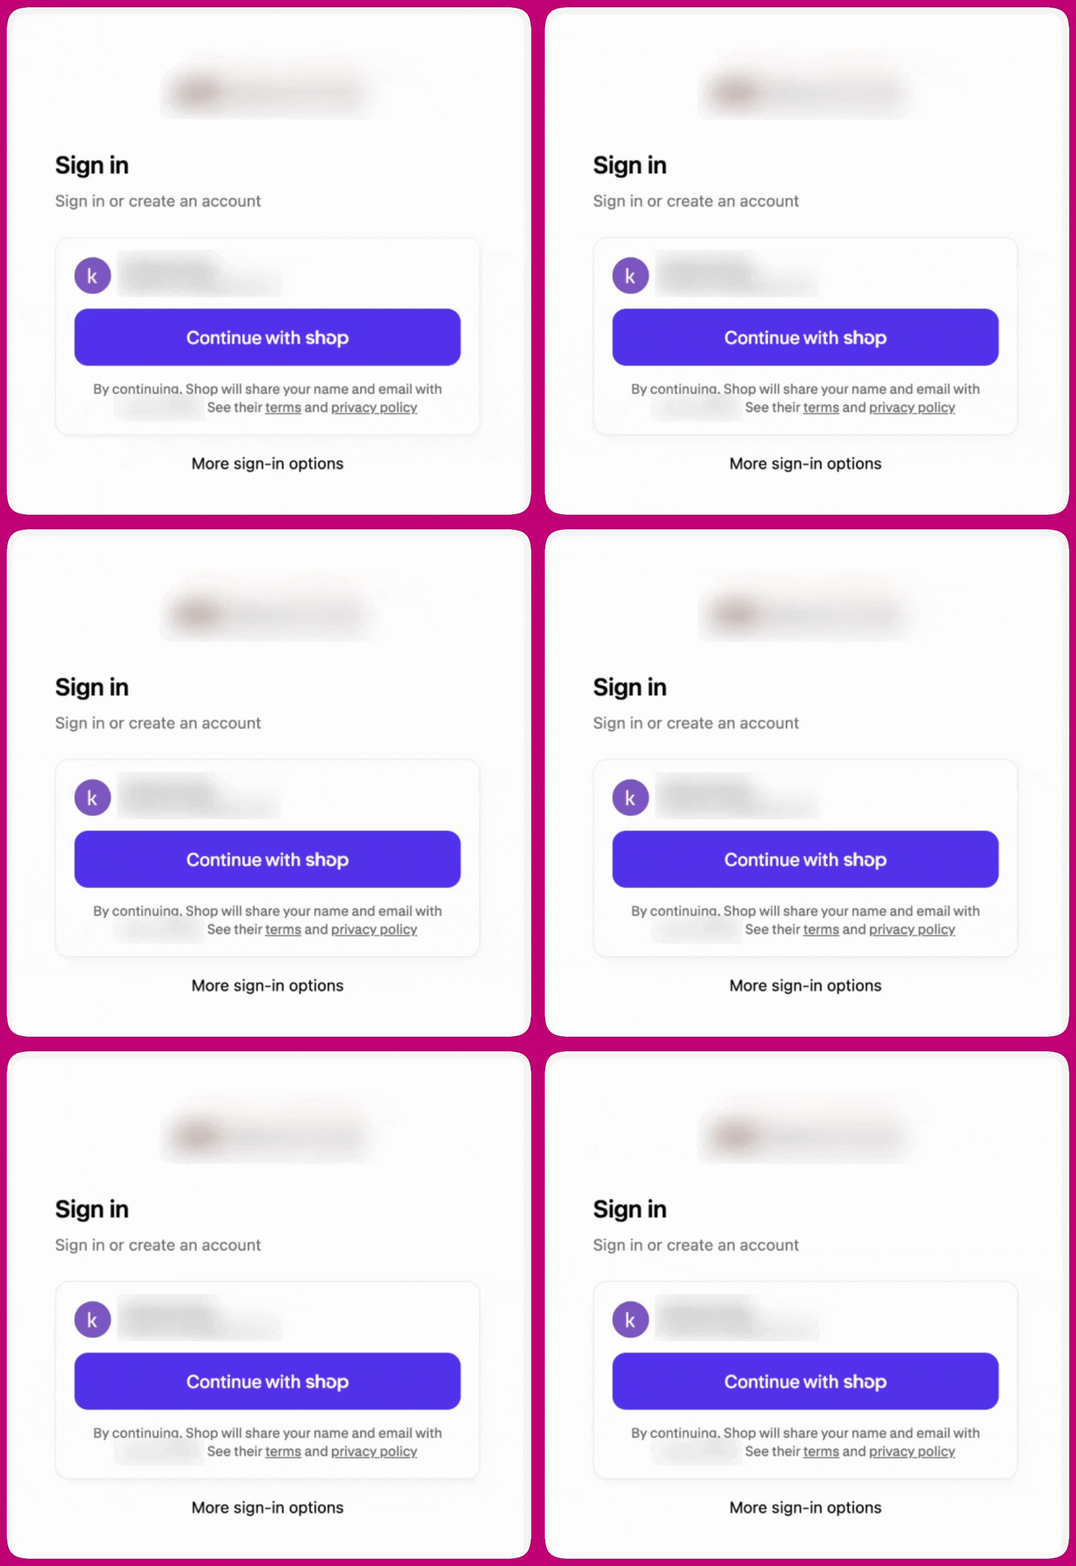
Your store must be using Shopify’s new customer account pages. You can confirm this by checking your login experience:
Click on the “My Account” button in your storefront’s navigation bar. If the login screen shows a “Continue with Shop” button in a distinctive purple/indigo color and uses Shop Pay authentication, your store is using the new account pages and is eligible for this placement.
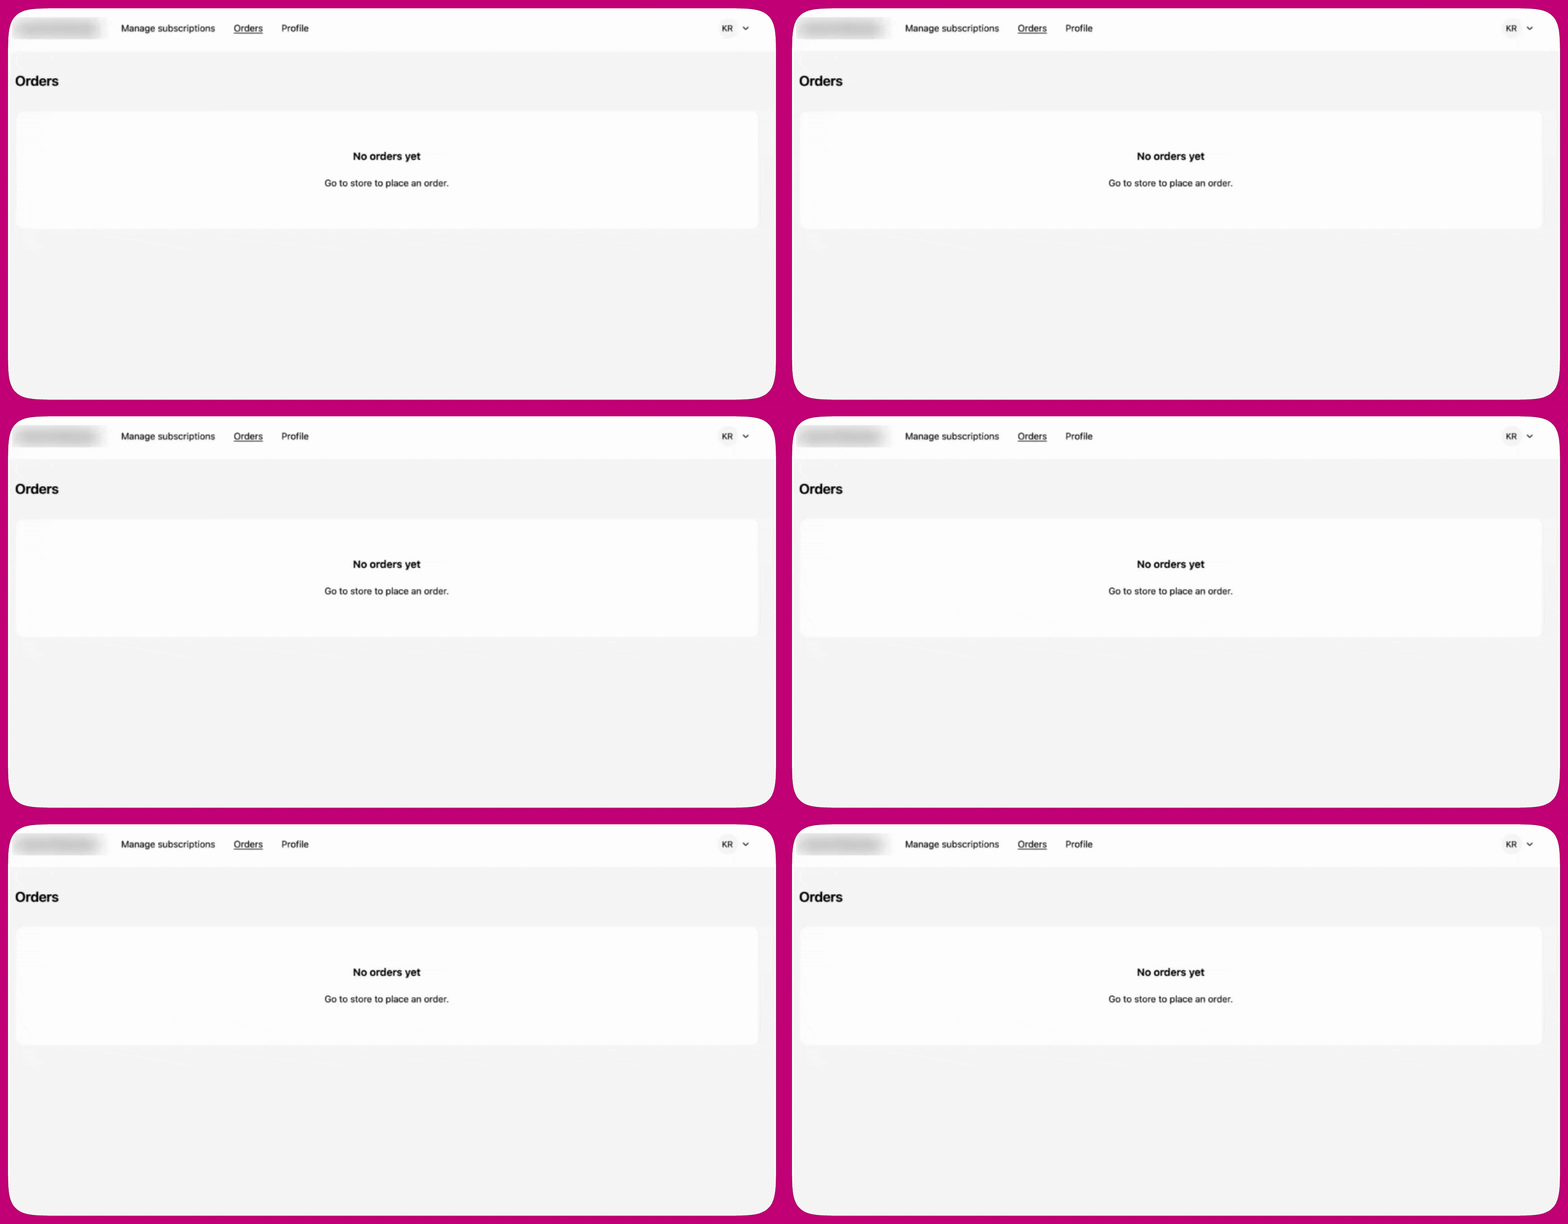
Logged in view:
Step 1: Complete setup
A new card will appear on the “Rokt Thanks” tab in Aftersell. Click “Start setup” and a loader will appear. While loading, two new pages will be created in your account - one for Orders and one for Profile - with all dependencies attached automatically.
Step 2: Grant data access
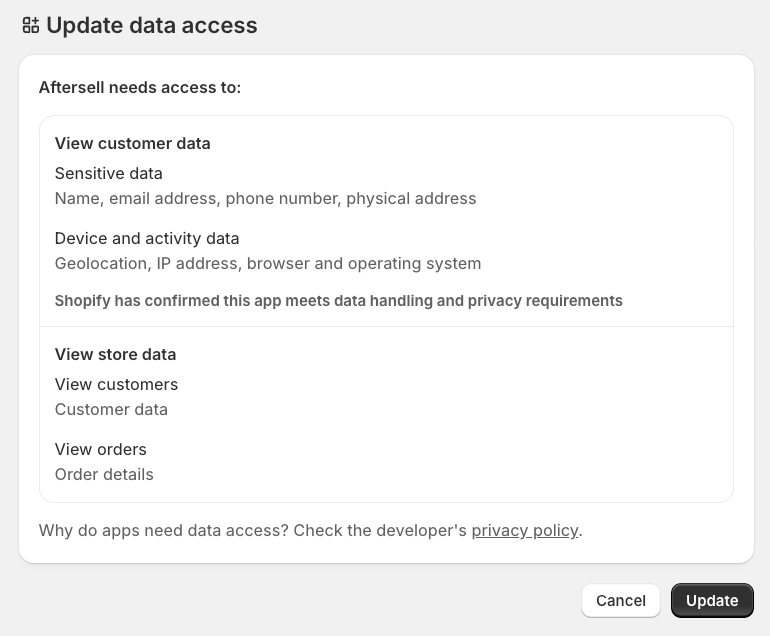
Certain access scopes are required for Rokt to display on your Account pages. There is no separate button for this — Start setup requests customer_read_customers and customer_read_orders for you as soon as the pages are created, and Shopify opens an “Update data access” prompt. Approve it to continue.
Step 3: Place App Blocks
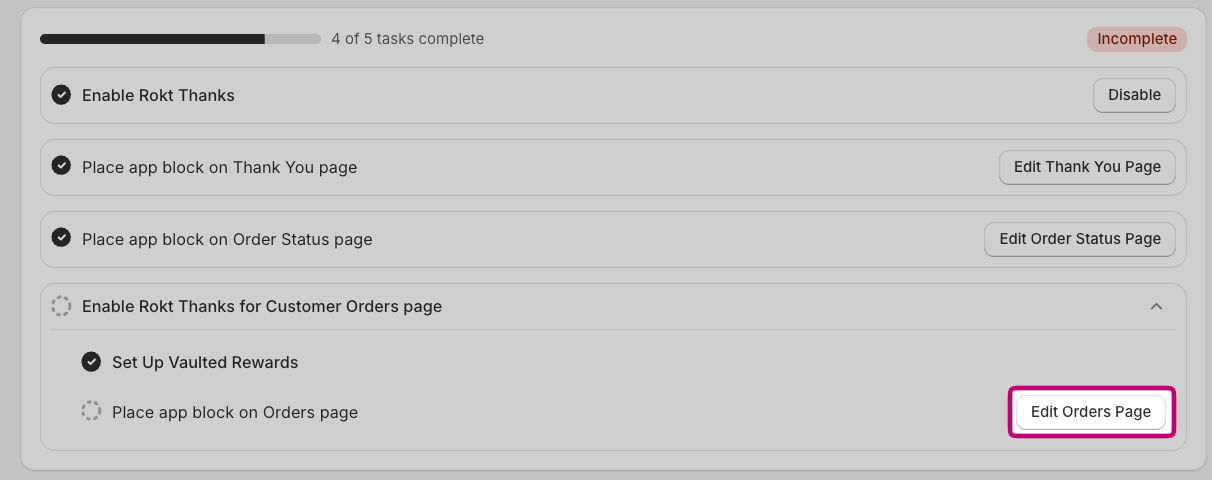
Once permissions are granted, click “Edit Orders page” to open your Shopify editor.
We’ll need to add the “Rokt Thanks” app block to both the Profile and Order pages. So repeat these following steps for both surfaces.
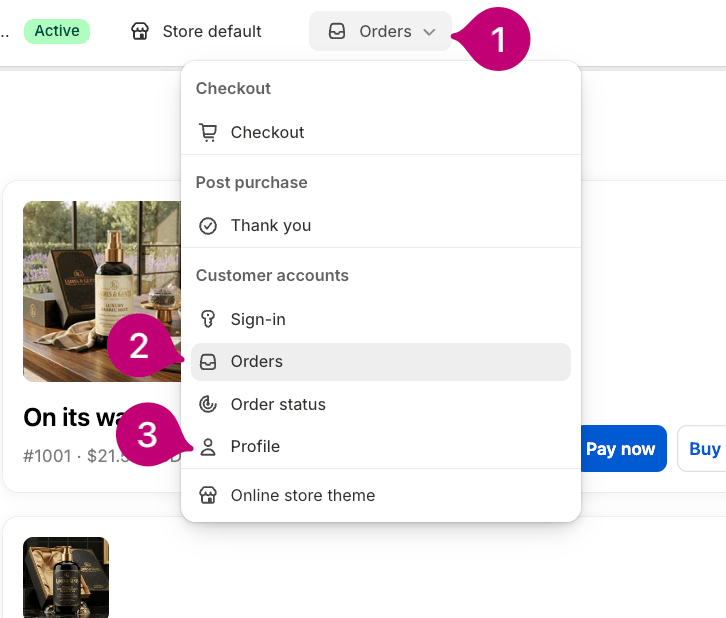
First, select the surface from the dropdown at the top of the Shopify Editor.
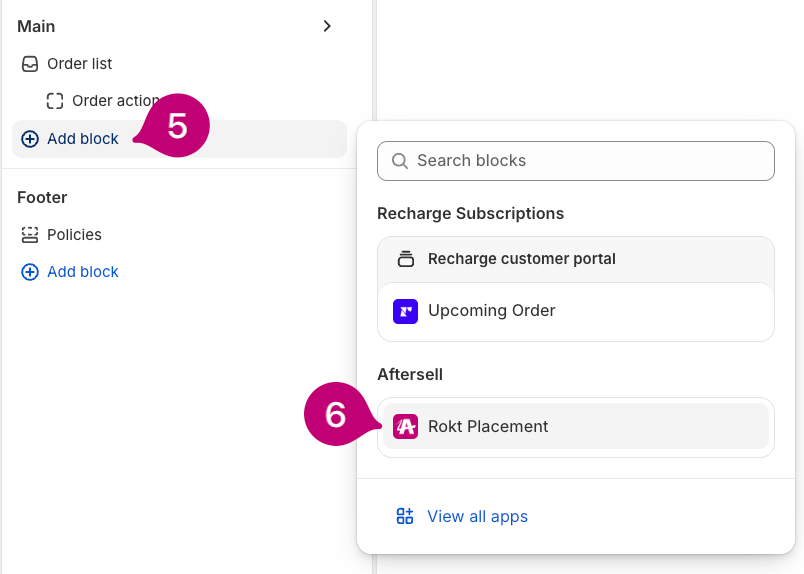
Click “Add Block” and select “Rokt Thanks”.
Once placed, make sure to click “Save”. Repeat the same steps for the other surface.
The setup guide only tracks the Orders page block. It will show this step as complete once that one is placed, even if the Profile block is still missing — so check the Profile surface yourself before considering setup finished.
Vaulted rewards is available to stores using Shopify’s new customer accounts. If you don’t see the vaulted rewards option in your Rokt Thanks admin, your store may not be eligible yet.
Appearance
In Shopify’s Extensibility framework, there are some appearance options available to you. These customization options are controlled by Shopify from within their Checkout Editor. You can access the Checkout Editor via Shopify’s Settings > Checkout > Customize.
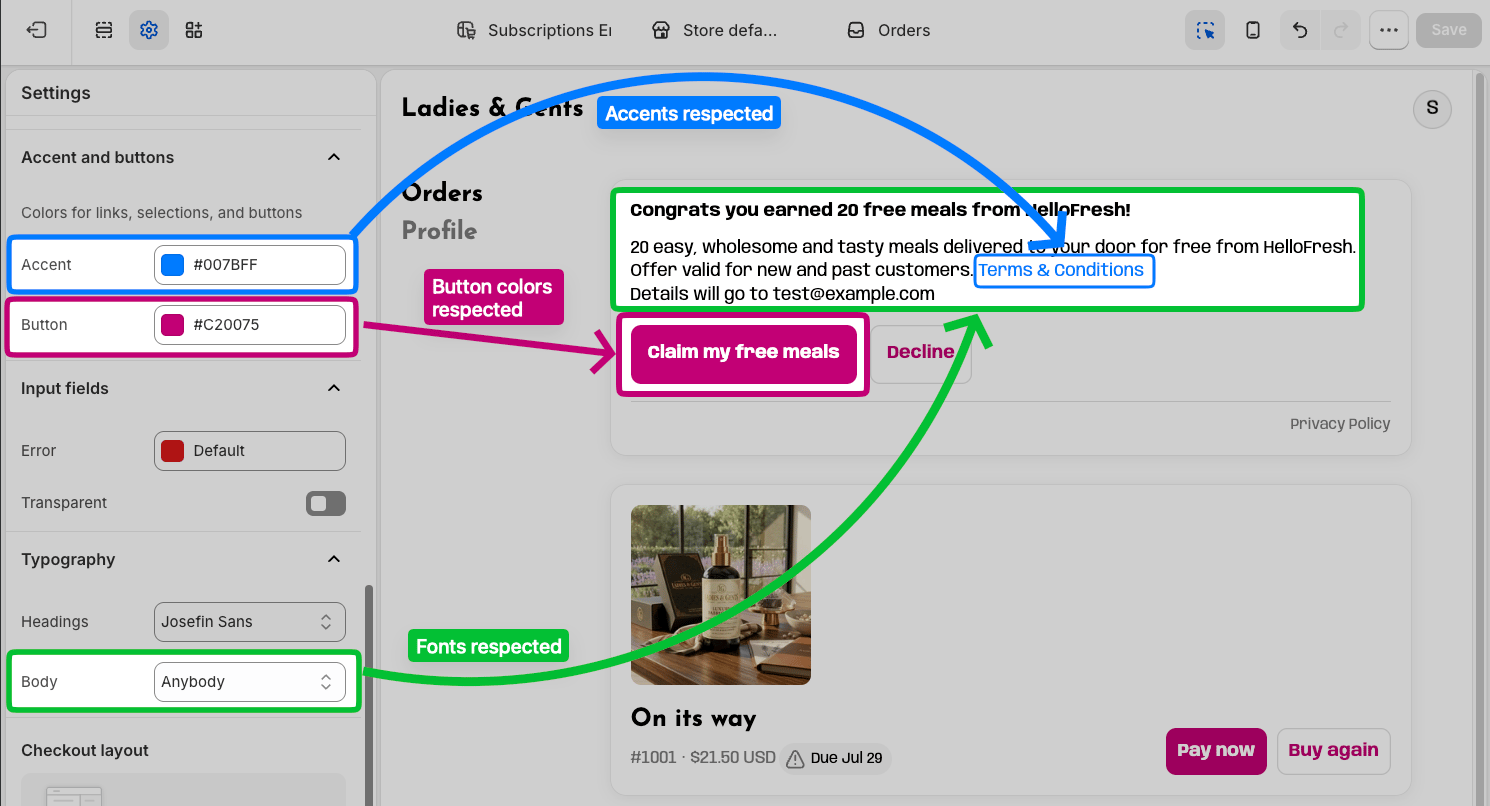
Rokt Thanks will specifically inherit the typography selected for your checkout pages as well as the Button and Accent colors specified in the Color section.
Preview the placement
To view the placement on your actual pages, follow these steps:
- Enable Rokt Thanks in the Aftersell admin
- Ensure the ‘Rokt Thanks’ app blocks are placed on your Thank You page, Order Status page, and (if eligible) customer account pages via the Shopify Checkout Editor
- Wait 10 minutes after enabling the placement before conducting a test purchase
- Make a test purchase on your store and view the pages
If Rokt Thanks is not showing as expected click the button below to learn more:
Learn More