Managing Modules
Each Upcart module can be easily enabled or disabled. Simply click on the Enable/Disable button in the top-right corner to turn a module on or off at any time. Your changes take effect immediately once saved.
Cart design
When you first open Upcart’s Cart Editor, you’ll land in the Design module. Here you can customize the base colors of the drawer to match your store branding.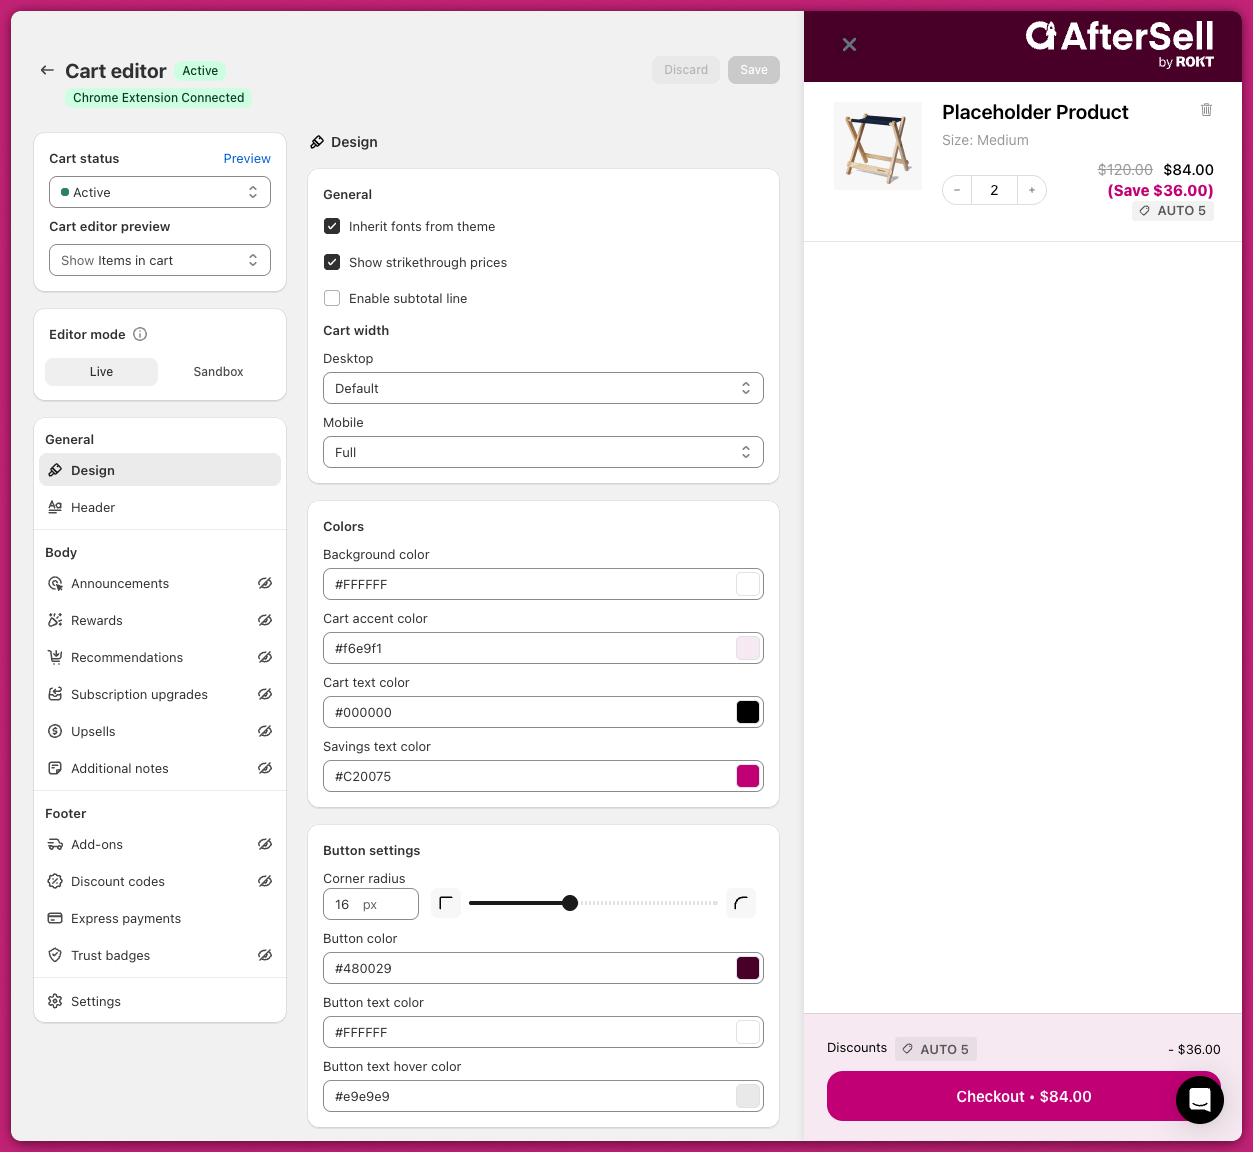
Announcements
To display a cart message or countdown timer, go to Body > Announcements. In the top right corner, switch the toggle to Active, or click Activate in the orange message shown at the top of the page.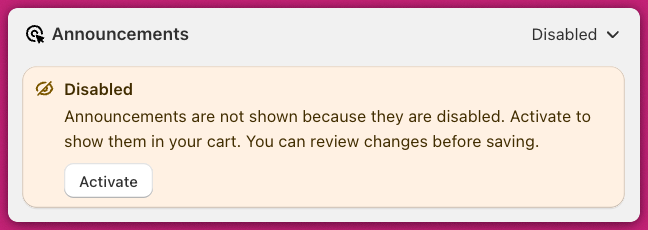
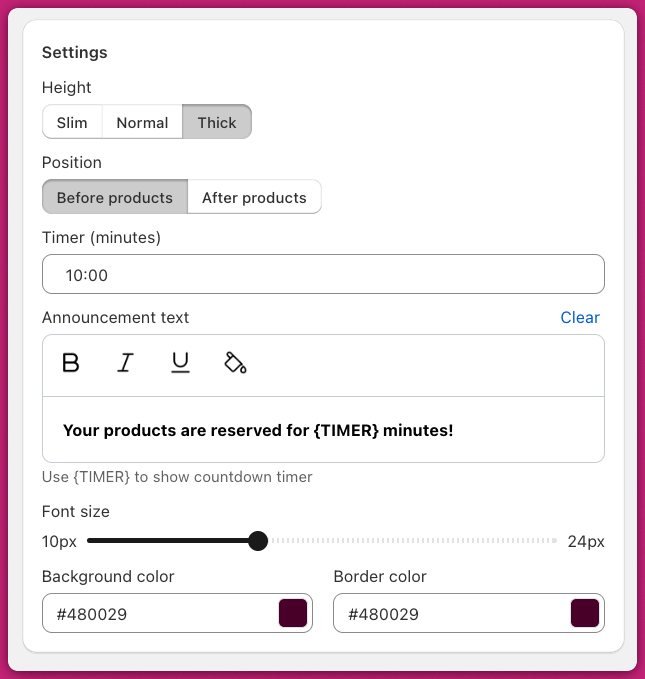
{TIMER} variable for countdowns within your announcement text to ensure proper functionality (e.g., “This offer is only available for .”) Avoid copying formatted text directly from third-party tools.
Once you’re done, make sure to click Save in the top-right corner.
Theme-Level Issues
- CSS or App Conflicts: Ensure that CSS properties like
display: none;are not hiding the announcement bar. Also, check that third-party apps are not overriding these settings. - Text Visibility: Confirm the announcement bar text color contrasts with the background and adjust it in your theme settings if necessary.
Advanced Debugging Steps
For persistent issues, review browser console errors for script problems affecting the announcement bar and disable third-party apps temporarily to pinpoint conflicts.Rewards
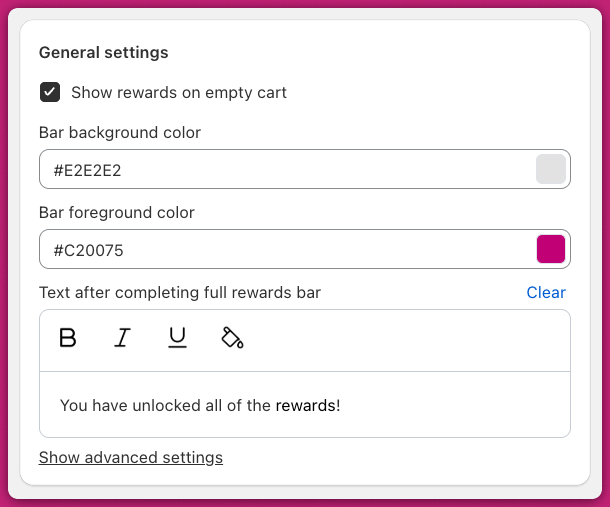
To display a progress bar that encourages customers to spend more, enable the Rewards Module.General settings
Set your branding colors and the message shown after the final reward tier is reached.Choose a reward basis:
- Cart Total: Tracks total cart value
- Item Count: Tracks quantity of items
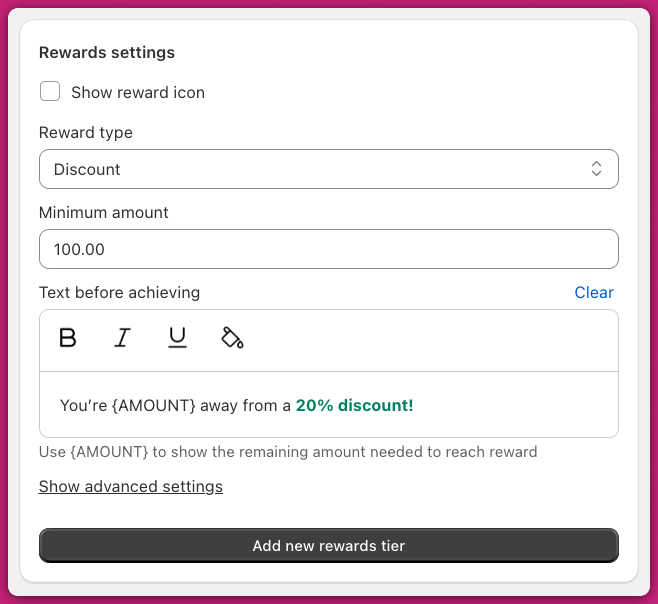
Rewards settings Choose your reward type:
- Shipping: Considers applied discounts
- Discount: Ignores discounts
- Product: Adds a product to the cart
Upsells
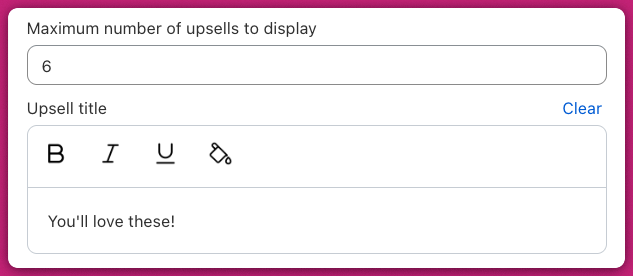
Enable Use AI Recommended Upsells, select the Related algorithm, and turn on Smart Variant Matching to preselect matching product variants based on the cart contents.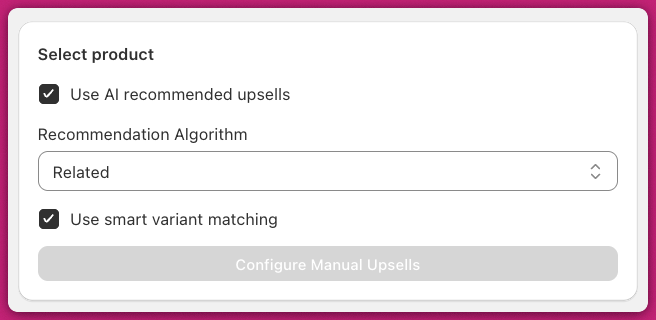
Add-ons
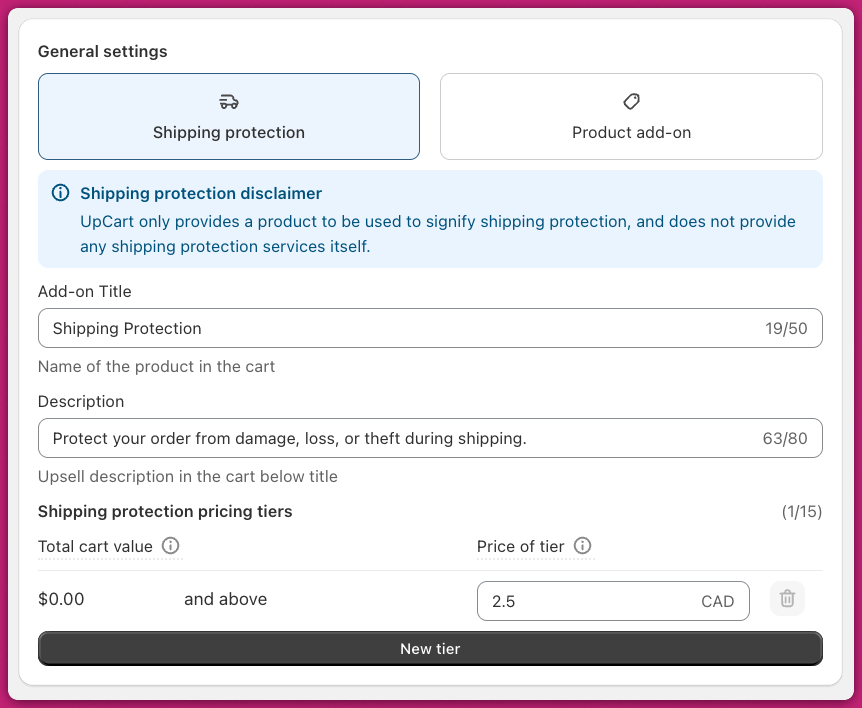
To show a toggle-based add-on in the footer, you can enable either of these options:Shipping protection
Select Shipping Protection and configure dynamic pricing tiers based on cart value.This creates a real product in your Shopify catalog.
Product add-on
Switch to the Product Add-On tab and select an existing product to offer as an upsell.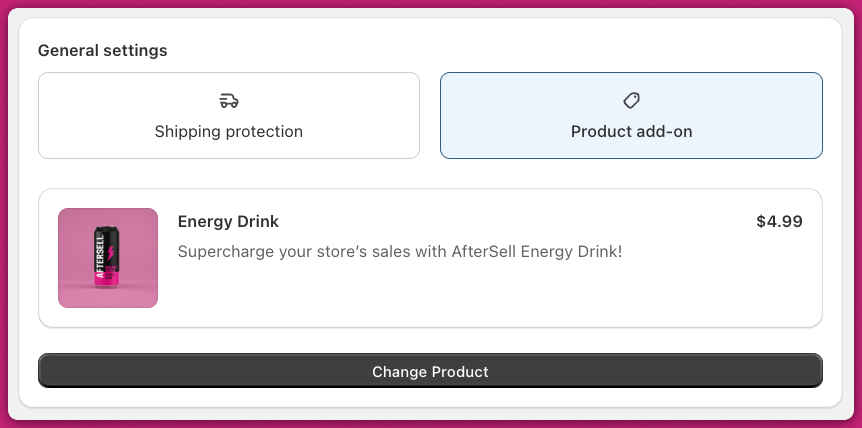
Activating Upcart on your store
Step one: Make your cart live
Once everything is configured: Note: The app embed controls whether the Upcart cart drawer displays on your storefront. If you have Discounts configured, those rules will remain active via Shopify’s discount system even when the app embed is disabled.Step 2: Test compatibility
go to Manage All Carts > select the cart you want to make active > click Publish. Once published, a green “Live” badge will appear next to the cart name confirming it’s active on your store.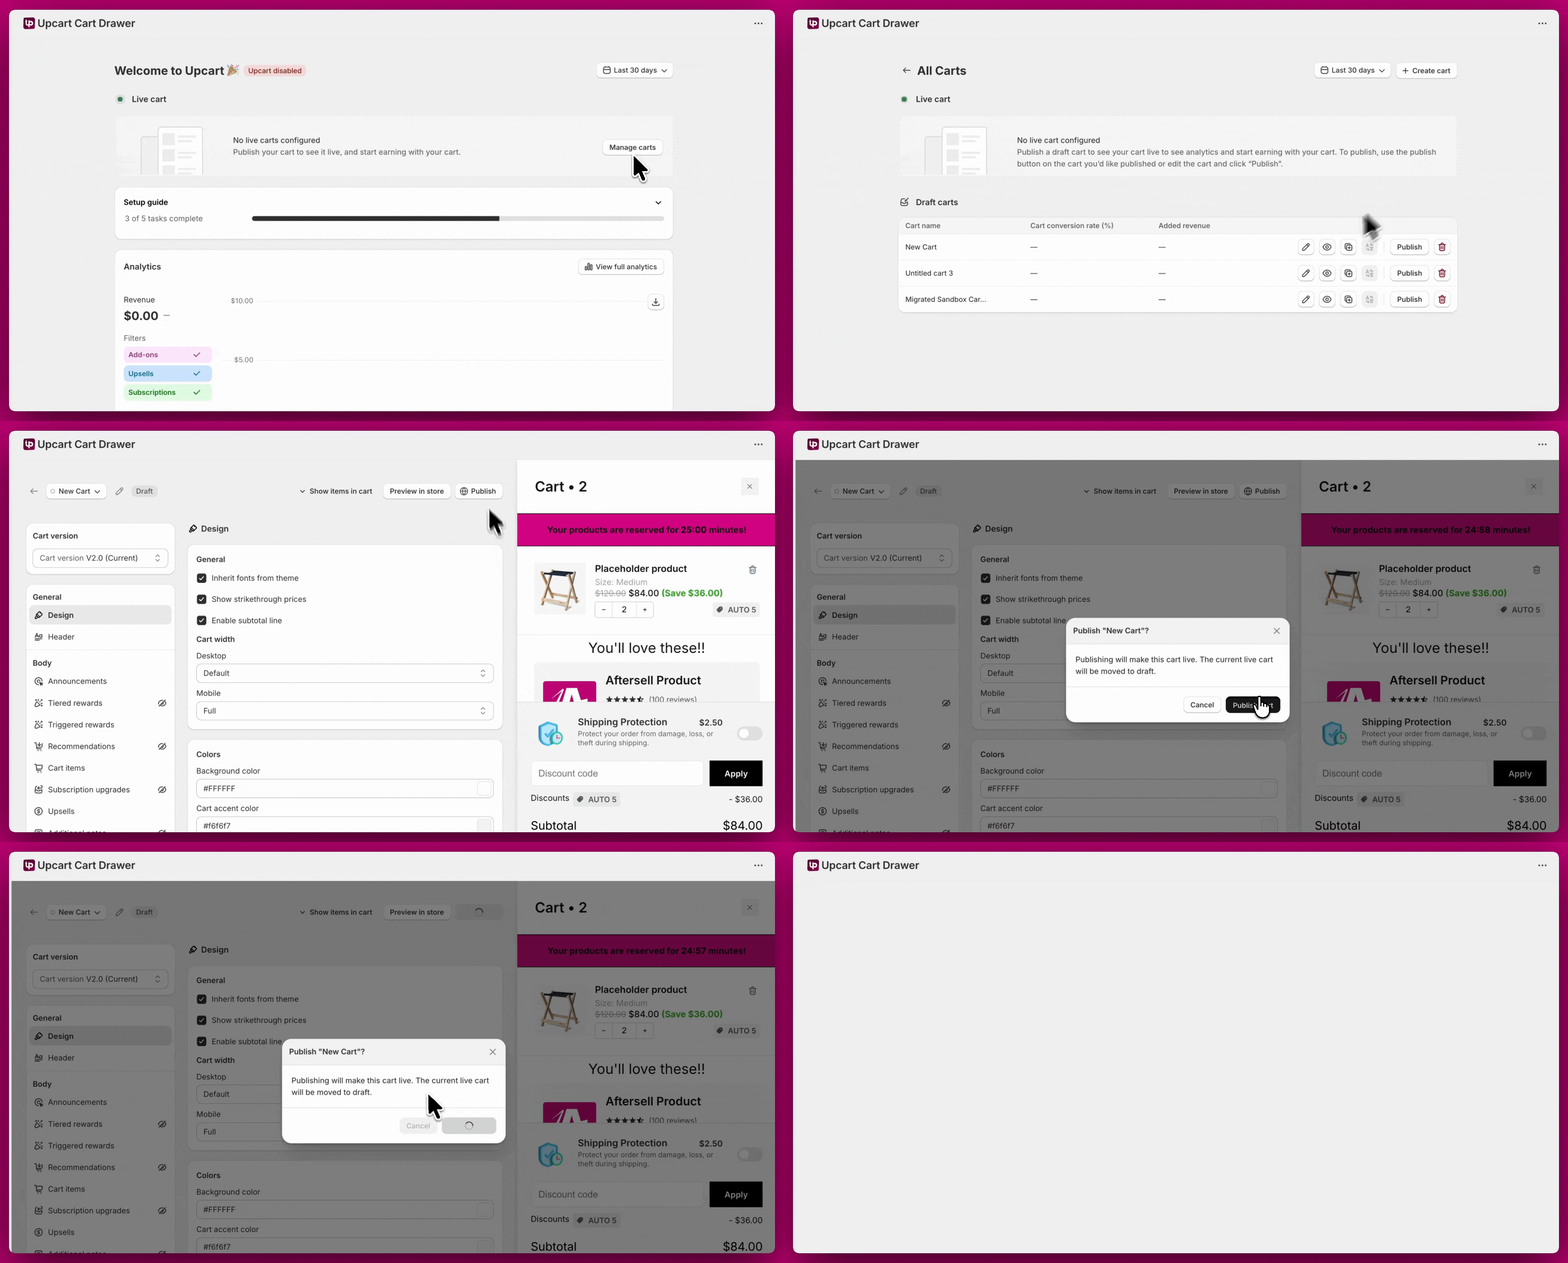
Step two: Enable Theme App Embed
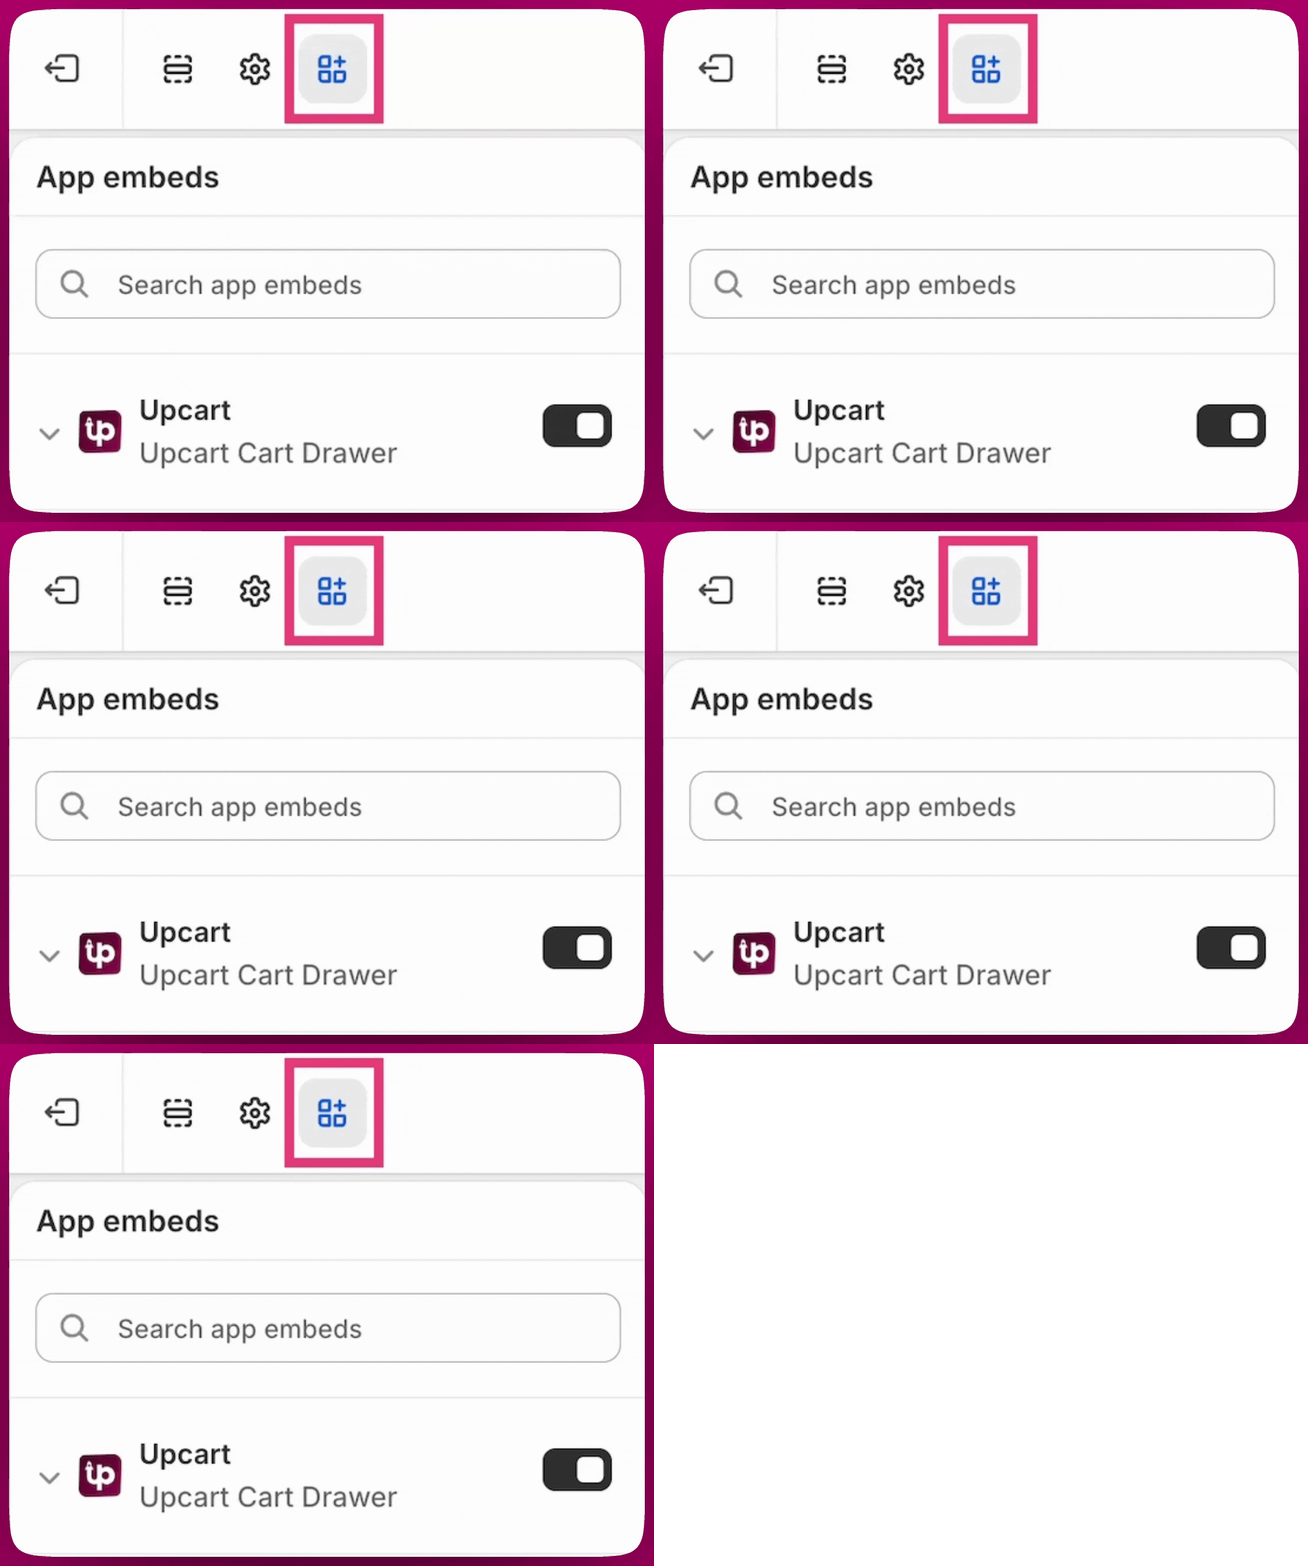
To activate Upcart on your theme, go to Shopify Admin → Online Store → Themes → Customize → App Embeds, enable the Upcart Bridge, and click Save.